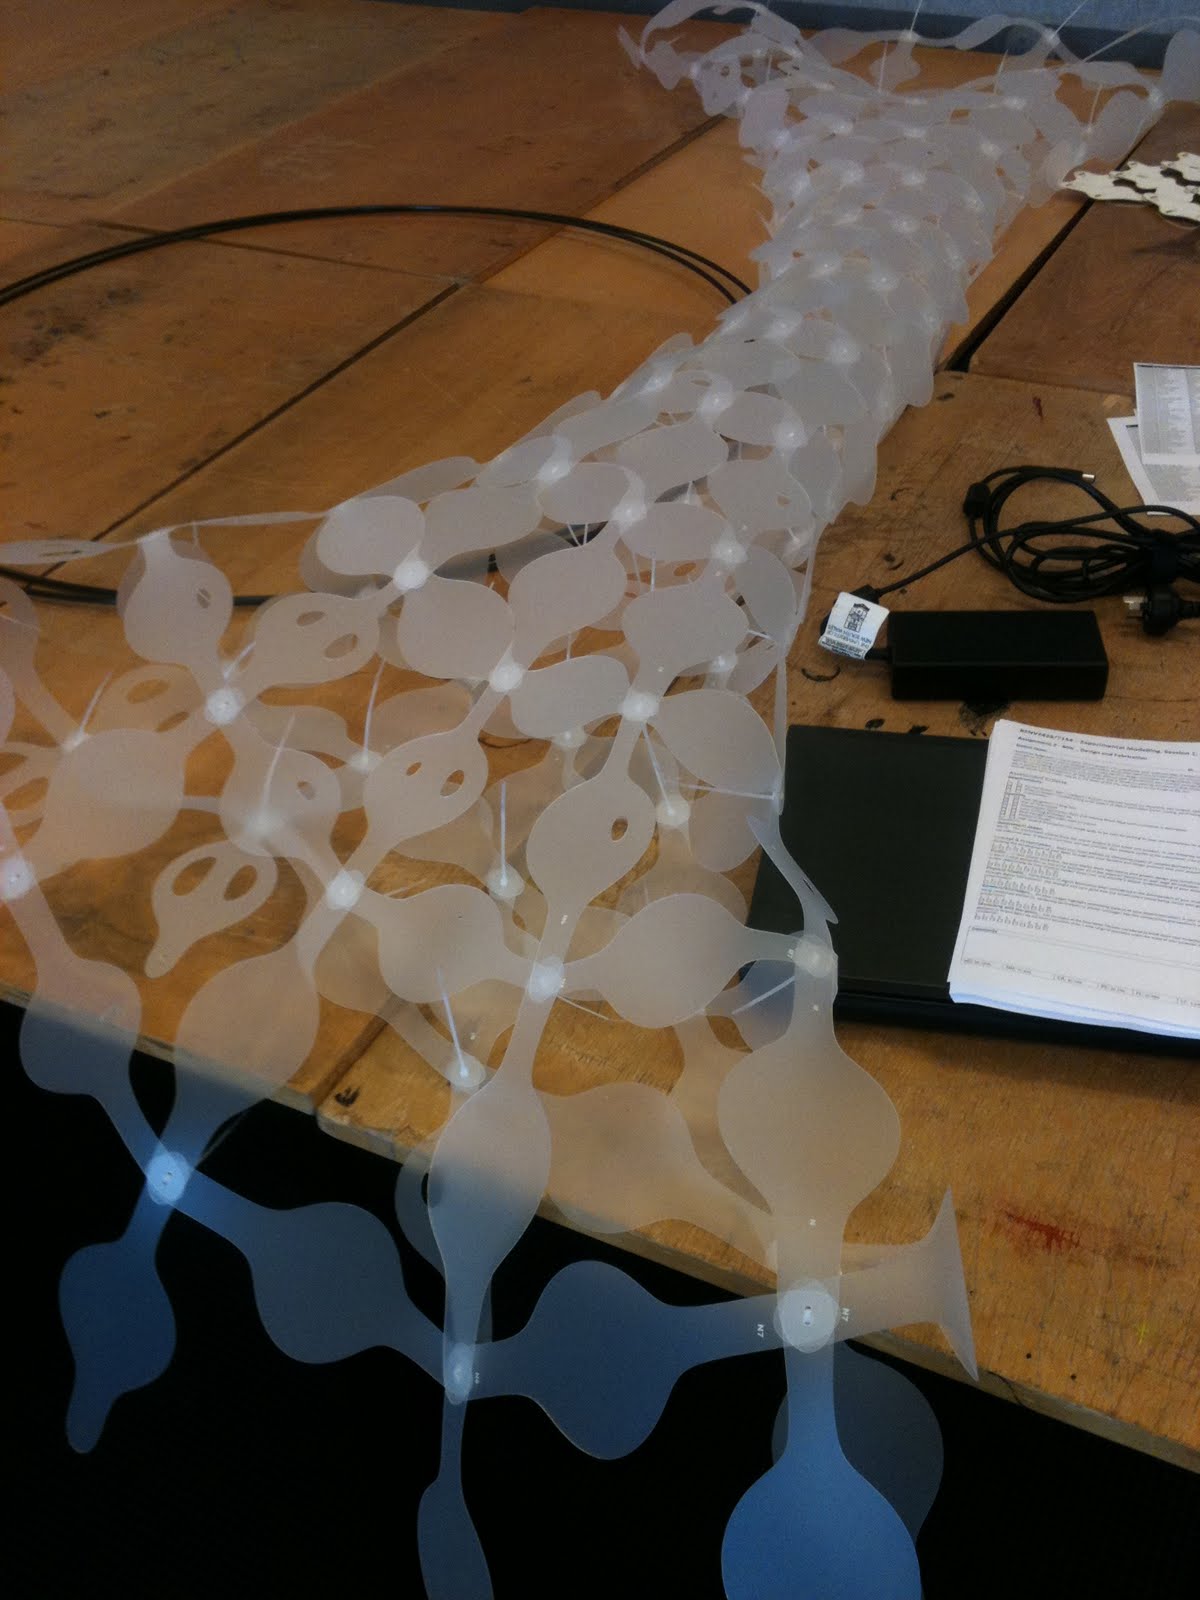
IMAGES OF FLAT CUT MODEL // PHOTOS OF PHYSICAL MODEL UNDER CONSTRUCTION AND CONSTRUCTED:
Thursday, 16 June 2011
Sunday, 5 June 2011
TASK 12: DESIGN DEVELOPMENT FOR ASSIGNMENT 3
TASK 11: DESIGN DEVELOPMENT FOR ASSIGNMENT 03
TASK 10: ASSIGNMENT 03 DESIGN DEVELOPMENT
DESCRIPTION FILE // GEOMETRY // LASER CUTTING FILE // LASER CUT TEST
THOUGHTS: ON LASER CUTTING:
For my test run I chose to go with 1mm white card, thinking there'd be enough flex in each piece to form the shape below. I measured the width of the smallest cable tie (2.5mm) and in Grasshopper I made the holes at every junction 4mm, just to be safe and also allow for a bit wiggle room so each piece could make the overall shape. I was happy that the tags system worked.
This dry run gave me the confidence to go bigger with a more ambitious shape, it made me realise I needed a more flexible material - polypropylene - and also that my holes needed to come down in size because the 1.5mm of wiggle room was too much and my pieces weren't holding together as tightly as they could have been.
ASSIGNMENT 02: SITE ANALYSIS AND PROPOSAL

![]() |
Quick sketch of the Centrepoint Tower facade |
![]() |
Quick sketch of the MLC Centre facade |
![]() |
Quick sketch of a typical 19th century / early 20th century building |
TASK 07: GRASSHOPPER EXPERIMENTATION
Experimenting with Zubin M Khabazi's Weave tutorial, found on http://www.grasshopper3d.com/page/tutorials-1
Subscribe to:
Posts (Atom)